
AWS Direct Connect with Terraform
If you’ve never been to one, Immersion Days are great. Generally there’ll be a presentation about the techin question, then some hands on labs letting you get dirty with it. I really recommend participating if one comes your way.
For as long as I’ve been working for him, my boss has been repeatedly (read once or twice) mentioned that he’s been harrassing AWS to provide an Immersion Day for Direct Connect.
Direct Connect is a direct network connect between your office or data center and an AWS region. This lets you get dedicated bandwidth on a private connection that exists outside of the internet.
As you can imagine creating a lab environment where you need to be able to create and destroy dedicated WAN connections on a whim is a bit hard. Regardless, Amazon have come through and it was awesome. It was great being able to get some hands-on experience and having an instructor walk you through the process was invaluable.
Immersion Day lab environments tend to hang around for a few hours after the days has finished and this one was no exception. So after everything’s wrapped up, I tore it all down and hit up the Terraform docs.
It’s Business Time
To start with, I really recommend reading through the Provision Direct Connect Connectivity part of the Immersion Day guide. This is what we’re going to be recreating with Terraform and it’ll help provide a visual overview of what you’re doing.
If you’ve read the guide, you’ll have seend that, our existing environment cosists of multiple VPCs and a Transit Gateway. Our example has 10.0.0.0/24 as the on-prem network and 172.16.0.0./16 in AWS.
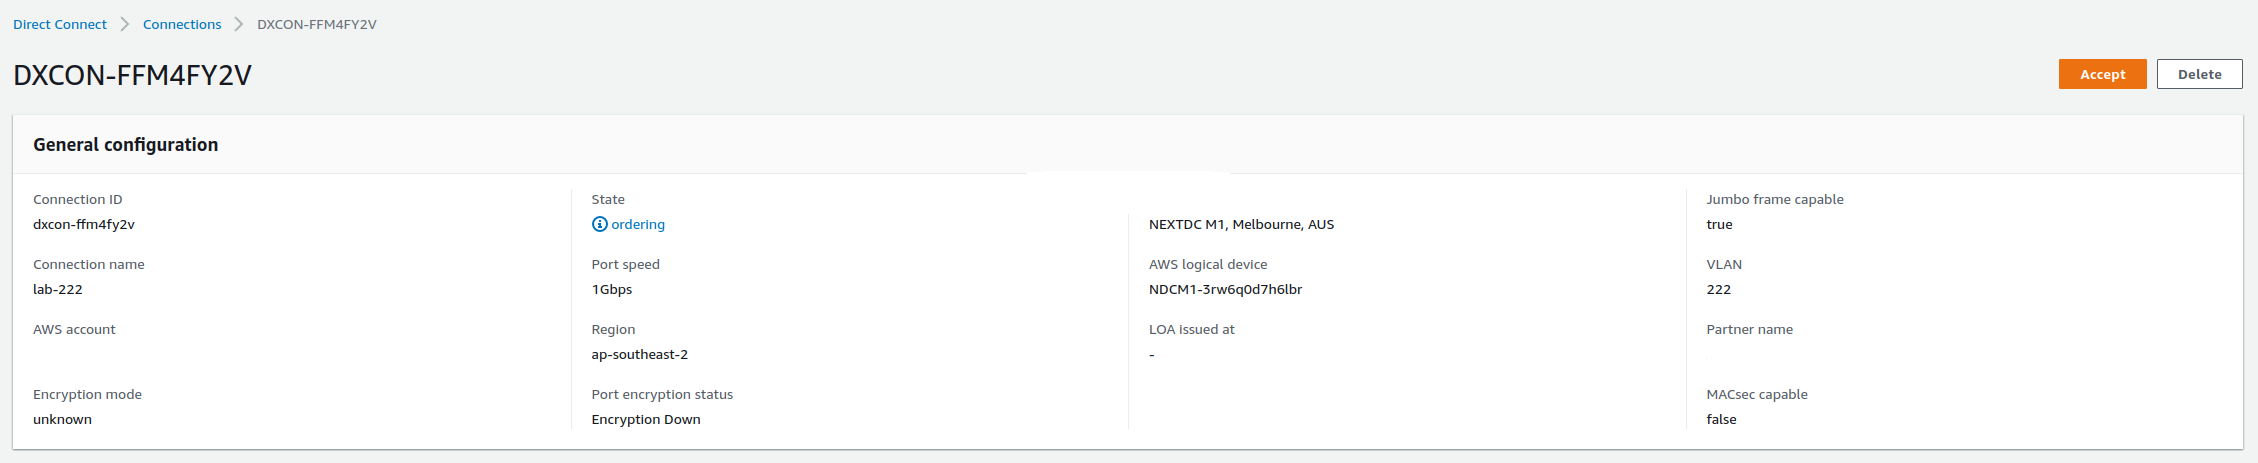
First thing you’re going to do is go to your Direct Connect provider and request a connection. The specifics of this are outside the scope of this post. Eventually you’ll see the connection in your AWS console where you can accept it.
Next we want a Direct Connect Gateway. This requires a name and an ASN for the Amazon side. We’re going to use 64512 and stash it in a variable.
variable "aws_side_bgp_asn" {
  description = "BPG ASN used on the AWS side"
  default     = 64512
}

resource "aws_dx_gateway" "dx" {
  name            = "direct-connect-lab"
  amazon_side_asn = var.aws_side_bgp_asn
}
We now need to associate the DX Gateway with our pre-existing Transit Gateway. Here we’ll need the ID of the Transit Gateway and the CIDR ranges for all VPCs attached to it. This can be one large, all encompassing block if desired.
variable "transit_gateway_id" {
  description = "ID of the pre-existing Transit Gateway to attach the DX to"
}

variable "transit_gateway_ip_prefixes" {
  description = "Subnets attached to the Transit Gateway to allow to route through the DX conn"
  default = [
    "172.16.0.0/16"
  ]
}

data "aws_ec2_transit_gateway" "example" {
  id = var.transit_gateway_id
}

resource "aws_dx_gateway_association" "dx" {
  dx_gateway_id         = aws_dx_gateway.dx.id
  associated_gateway_id = data.aws_ec2_transit_gateway.example.id

  allowed_prefixes = var.transit_gateway_ip_prefixes
}
The transit_gateway_ip_prefixes is a list of subnets attached to the Trasnit Gateway. These get advertised to the DX Gateway.
Next we create a Transit Virtual Interface and provide it the IP addresses of the Amazon and customer sides of the connection. It will also need a BGP auth key.
variable "direct_connect_connection_id" {
  description = "ID of the DX Connection created by the DX provider"
  default     = "dxcon-fg5dryvu"
}

variable "vlan" {
  description = "The VLAN used by the DX Connection. Provided by DX provider"
  default     = 222
}

variable "dx_gateway_bgp_asn" {
  description = "BGP ASN used by the DX Gateway"
  default     = 64513
}

variable "dx_amazon_address" {
  description = "IP Address of the Amazon side of the DX connection"
  default     = "169.254.100.2/30"
}

variable "dx_customer_address" {
  description = "IP Address of the customer side of the DX connection"
  default     = "169.254.100.1/30"
}

variable "dx_bgp_auth_key" {
  description = "Key used for the BGP authentication"
  default     = "badPassword"
}

resource "aws_dx_transit_virtual_interface" "dx" {
  name = "direct-connect-lab"

  connection_id = var.direct_connect_connection_id
  dx_gateway_id = aws_dx_gateway.dx.id

  vlan           = var.vlan
  address_family = "ipv4"
  bgp_asn        = var.dx_gateway_bgp_asn

  amazon_address   = var.dx_amazon_address
  customer_address = var.dx_customer_address
  bgp_auth_key     = var.dx_bgp_auth_key
}
Your router will need configuring. The following is an example for the virtual router provided in the lab. The specifics for yours will vary.
Setting the Router IP:
conf t
interface eth1
ip address 169.254.100.1/30
exit
exit
show interace brief
Configuring BGP:
conf t
route bgp 64513
neighbor 169.254.100.2 remote-as 64512
neighbor 169.254.100.2 password badPassword
address-family ipv4 unicast
network 10.0.0.0/24
exit
exit
exit
show bgp detail
With all that we should be good to deploy the Terraform.
Terraform used the selected providers to generate the following execution plan. Resource actions are indicated with the following symbols:
  + create

Terraform will perform the following actions:

  # aws_dx_gateway.dx will be created
  + resource "aws_dx_gateway" "dx" {
      + amazon_side_asn  = "64512"
      + id               = (known after apply)
      + name             = "direct-connect-lab"
      + owner_account_id = (known after apply)
    }

  # aws_dx_gateway_association.dx will be created
  + resource "aws_dx_gateway_association" "dx" {
      + allowed_prefixes                    = [
          + "172.16.0.0/16",
        ]
      + associated_gateway_id               = "tgw-0dffb943a3221b366"
      + associated_gateway_owner_account_id = (known after apply)
      + associated_gateway_type             = (known after apply)
      + dx_gateway_association_id           = (known after apply)
      + dx_gateway_id                       = (known after apply)
      + dx_gateway_owner_account_id         = (known after apply)
      + id                                  = (known after apply)
    }

  # aws_dx_transit_virtual_interface.dx will be created
  + resource "aws_dx_transit_virtual_interface" "dx" {
      + address_family      = "ipv4"
      + amazon_address      = "169.254.100.2/30"
      + amazon_side_asn     = (known after apply)
      + arn                 = (known after apply)
      + aws_device          = (known after apply)
      + bgp_asn             = 64513
      + bgp_auth_key        = "badPassword"
      + connection_id       = "dxcon-fg5dryvu"
      + customer_address    = "169.254.100.1/30"
      + dx_gateway_id       = (known after apply)
      + id                  = (known after apply)
      + jumbo_frame_capable = (known after apply)
      + mtu                 = 1500
      + name                = "direct-connect-lab"
      + tags_all            = (known after apply)
      + vlan                = 222
    }

Plan: 3 to add, 0 to change, 0 to destroy.
Once that’s deployed we can connect to an EC2 instance and hit the on-prem network. In this case we’ll log into the server at 10.0.0.253.
sh-4.2$ ssh labuser@10.0.0.253
labuser@10.0.0.253's password:
Last login: Wed May 18 08:12:07 2022 from 172.16.94.57

[labuser@dns ~]$ ip addr
1: lo: <LOOPBACK,UP,LOWER_UP> mtu 65536 qdisc noqueue state UNKNOWN group default qlen 1000
    link/loopback 00:00:00:00:00:00 brd 00:00:00:00:00:00
    inet 127.0.0.1/8 scope host lo
       valid_lft forever preferred_lft forever
    inet6 ::1/128 scope host
       valid_lft forever preferred_lft forever
991: eth0@if992: <BROADCAST,MULTICAST,UP,LOWER_UP> mtu 1500 qdisc noqueue state UP group default qlen 1000
    link/ether f2:e1:12:74:d9:d8 brd ff:ff:ff:ff:ff:ff link-netnsid 0
    inet 10.0.0.253/32 brd 10.0.0.253 scope global eth0
       valid_lft forever preferred_lft forever
    inet6 fe80::f0e1:12ff:fe74:d9d8/64 scope link
       valid_lft forever preferred_lft forever
993: eth1@if994: <BROADCAST,MULTICAST> mtu 1500 qdisc noop state DOWN group default qlen 1000
    link/ether 9a:30:45:10:60:12 brd ff:ff:ff:ff:ff:ff link-netnsid 0
995: eth2@if996: <BROADCAST,MULTICAST,UP,LOWER_UP> mtu 1500 qdisc noqueue state UP group default qlen 1000
    link/ether 96:18:e7:75:7f:f6 brd ff:ff:ff:ff:ff:ff link-netnsid 0
    inet6 fe80::9418:e7ff:fe75:7ff6/64 scope link
       valid_lft forever preferred_lft forever
Random, Unstructured Closing Thoughts
The Terraform stack deploys a lot faster than you’d think. This was especially helpful as the primary on-prem server I was testing the connection with had crashed. I tore the connection down and stood it up again a few times until I noticed that it was the on-prem side reporting that the ping failed, and switching to a dffirent on-prem server proved that the connection worked.
You can accept the DX connection from the vendor using a aws_dx_connection_confirmation TF resource, however this one feels a
bit iffy. Personally, I’d confirm the connection manually, then create the other required resources with Terraform.
The Immersion Day was really fun. Having the lab around afterwards was great for being able to test different deployments.